
Three weeks in the past, a buddy of mine had plunked down to write down her subsequent novel. With elated fingers her inside muse fueled each phrase, singing for 3 pages—after which silence. An eternity of hair pulling adopted.
She suffered from a case of “pantsing gone improper.” You’ve been there, helpless to an concept that deserted you as rapidly because it took maintain. Epiphany like it is a unicorn: uncommon, unruly, important to exceptional prose, and infrequently incompatible with long-form writing.
What she didn’t know is that she may have saddled that magical beast. There’s the age-old distinction between two writing types: plotting and pantsing. Some writers swear they can’t write in the event that they know the place they’re headed and write by the seat of their pants. Plotters are cartographers, etching each narrative element right into a map earlier than bleeding ink. Each approaches are pretty and needn’t be unique—this text will educate you how you can trip a unicorn over charted terrain.
The secret’s to go away room for epiphany when heading to the following waypoint. Your muse could then sing towards the following map marker, after which the following and subsequent till you’ve gotten accomplished your manuscript. Plotters use outlines to sketch out these waypoints—and pansters uncover as they write their characters. Scrivener give us instruments to please each mindsets.
[ASIDE: A friendly book that teaches you how to work your manuscript through inch by inch windows is Anne Lamott’s Bird by Bird]
1. Perceive Scrivener’s Interface
In case you are unfamiliar with Scrivener’s interface, concern not! There are three options it’s worthwhile to know earlier than churning our your grasp define.
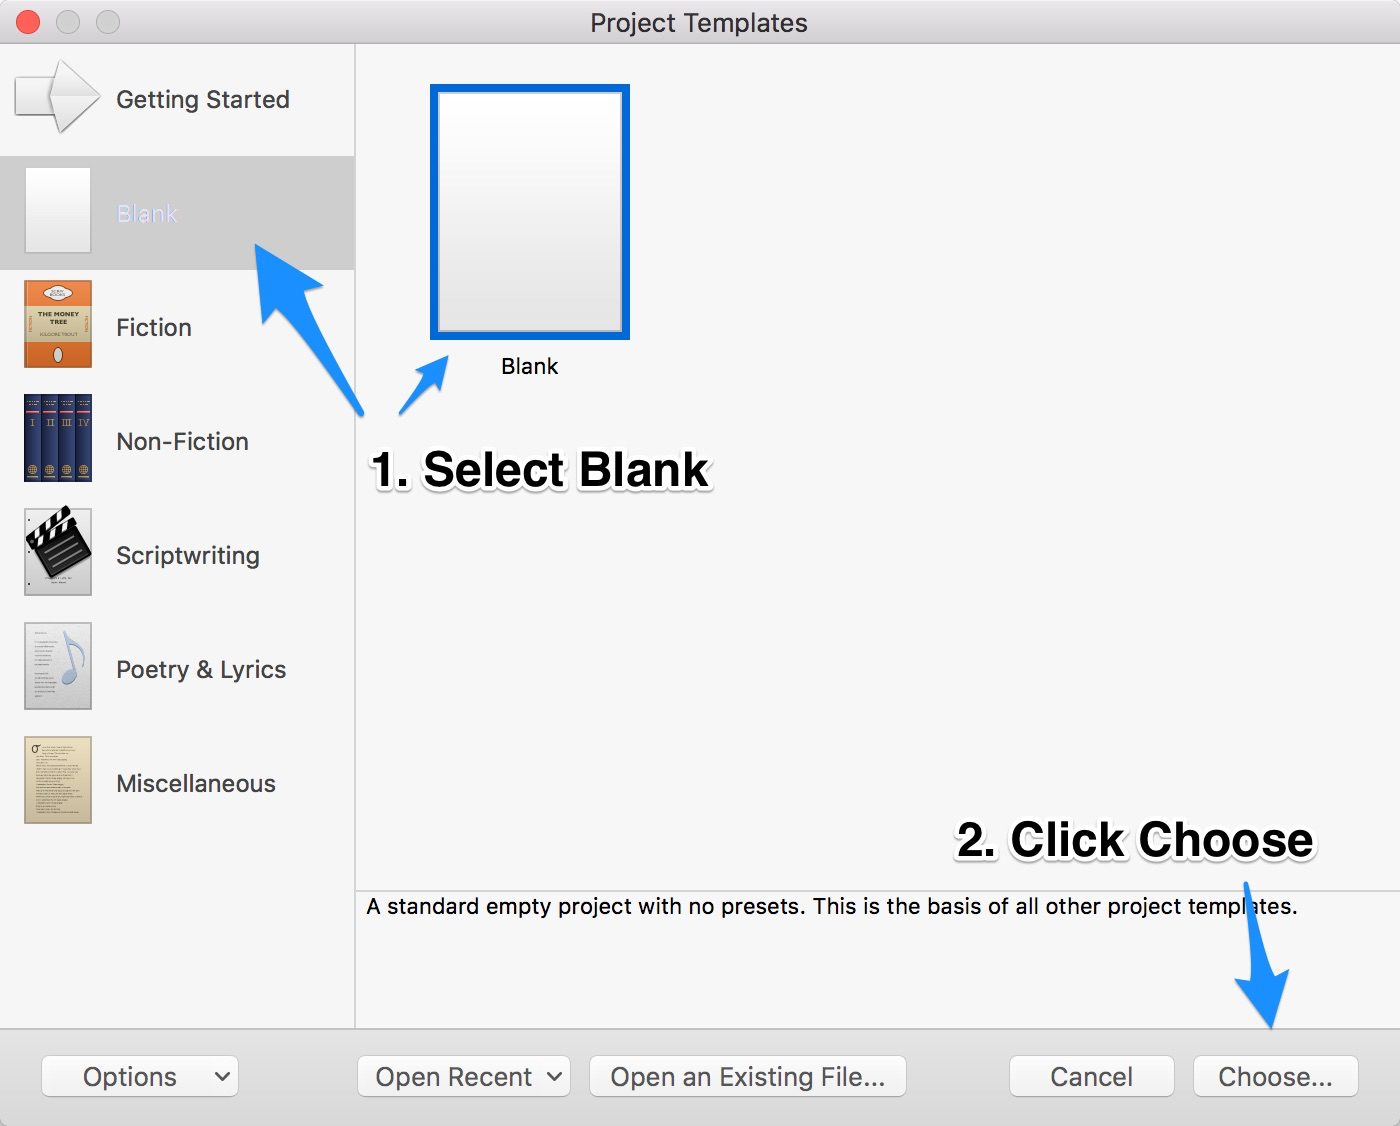
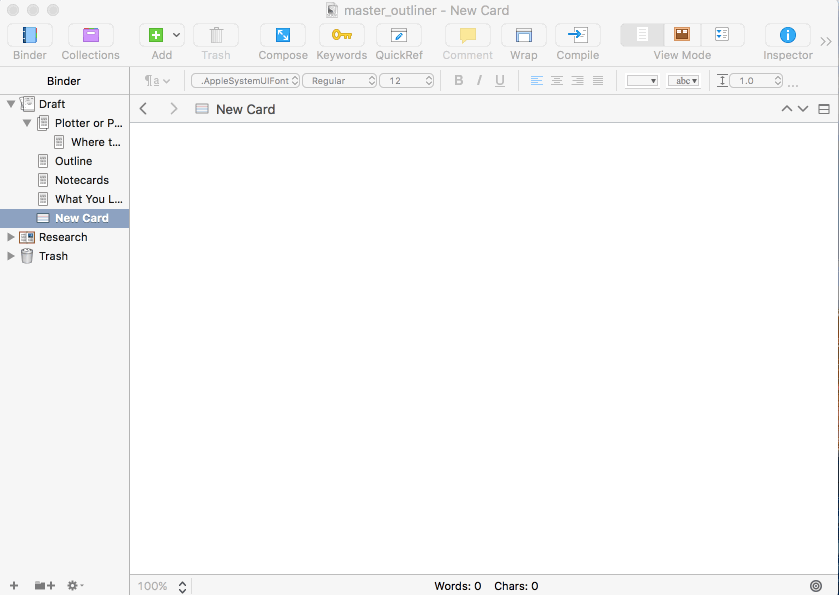
Open Scrivener and create a “Clean” challenge.
The Binder
Writers who come from Phrase or a linear phrase processor wrestle with the Binder.
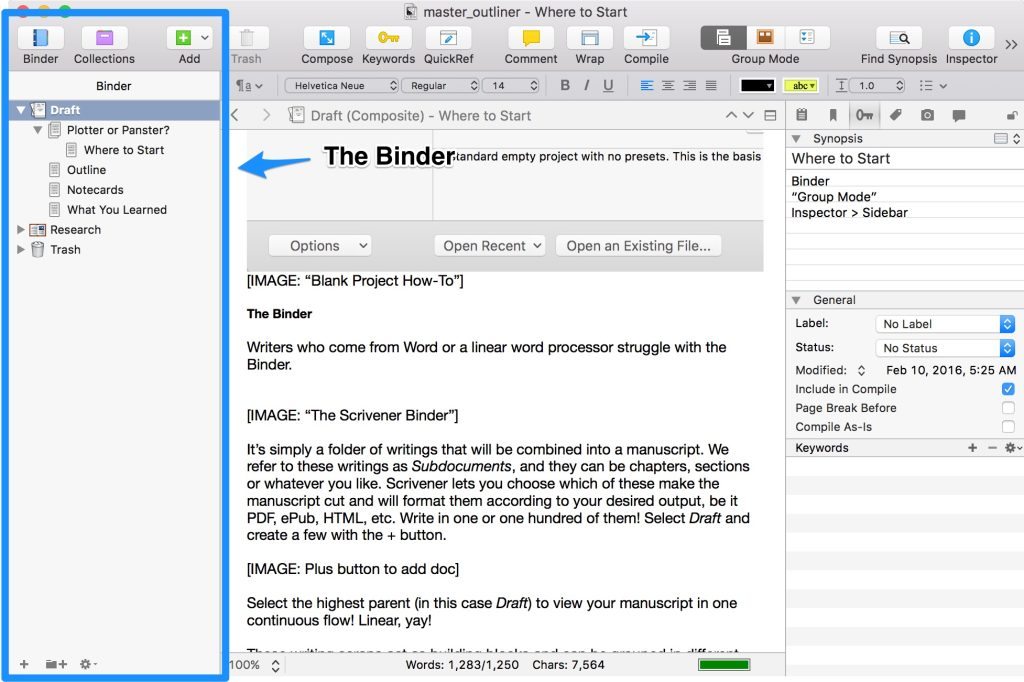
It’s merely a folder of writings—Scrivener nicknames them “scrivenings”—that shall be mixed right into a manuscript. We refer to those writings as Subdocuments, and they are often chapters, sections, beats or no matter you want. Scrivener enables you to select which of those make the manuscript reduce and can format them in line with your required output, be it PDF, ePub, HTML, and so on. Write in a single or 100 of them! Choose Draft and create a couple of with the + button.

Choose the very best mum or dad (on this case Draft) after which the primary “Group Mode” (see beneath) to view your manuscript in a single steady stream! Linear, yay!
These writing scraps act as constructing blocks and could be grouped in several methods. Trace: Should you don’t see the Binder, be certain the “Binder” button within the higher left is toggled on.
Group Mode
“Group Mode” offers you completely different viewpoints from which to research your writings (Subdocuments).
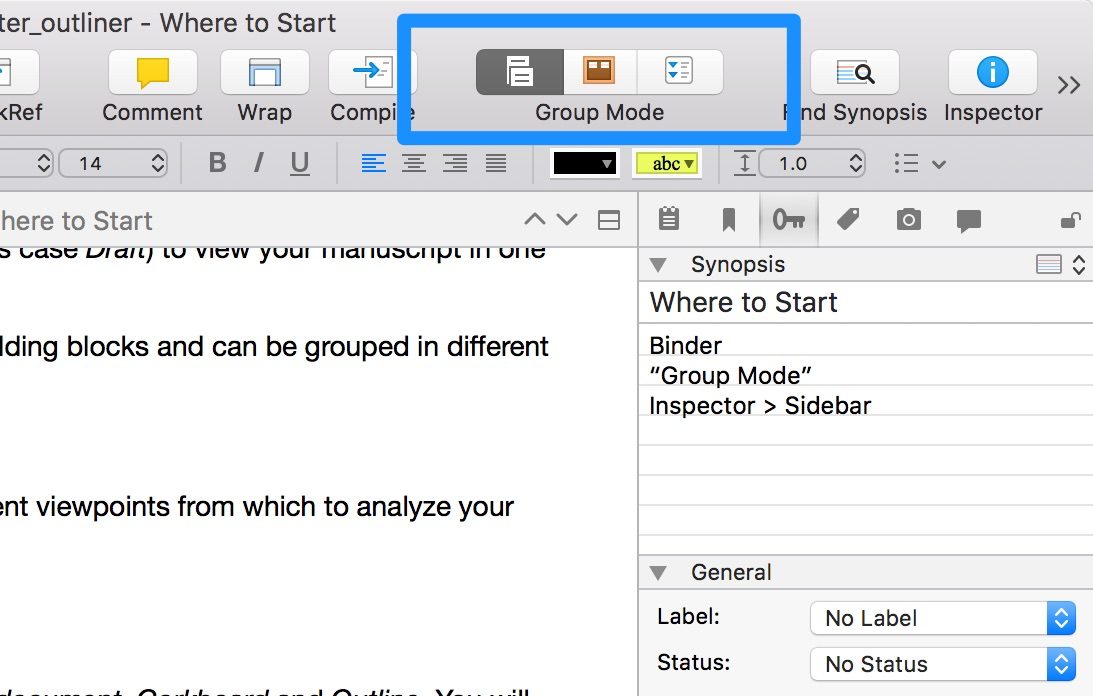
From left to proper, now we have Subdocument, Corkboard and Define. You’ll write in Subdocument mode, you’ll rearrange in Corkboard mode, and you’ll define in—sure—Define mode.
[ASIDE: If you ever get stuck on Scrivener’s interface, always see what’s selected in the Binder and make sure you are in the correct “Group Mode”]
The Inspector
The Inspector applies itself to no matter is chosen within the Binder and supplies a load of nifty instruments to prepare your manuscript.
You should utilize it to write down a synopsis, designate a label, embrace metadata, key phrases and rather more. This text will give attention to synopses.
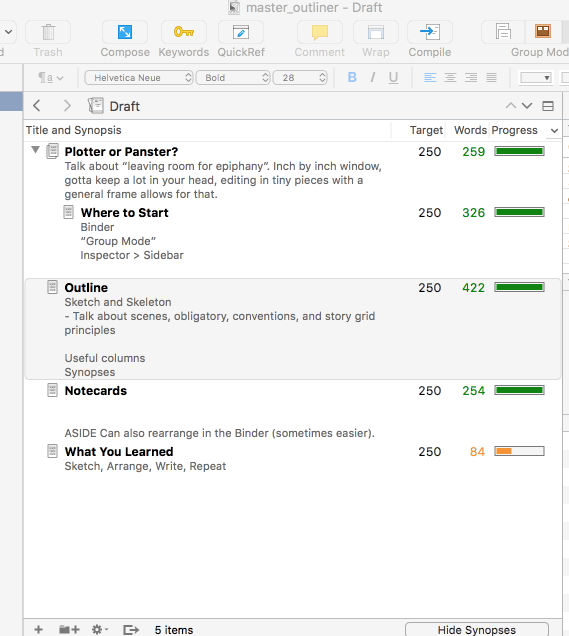
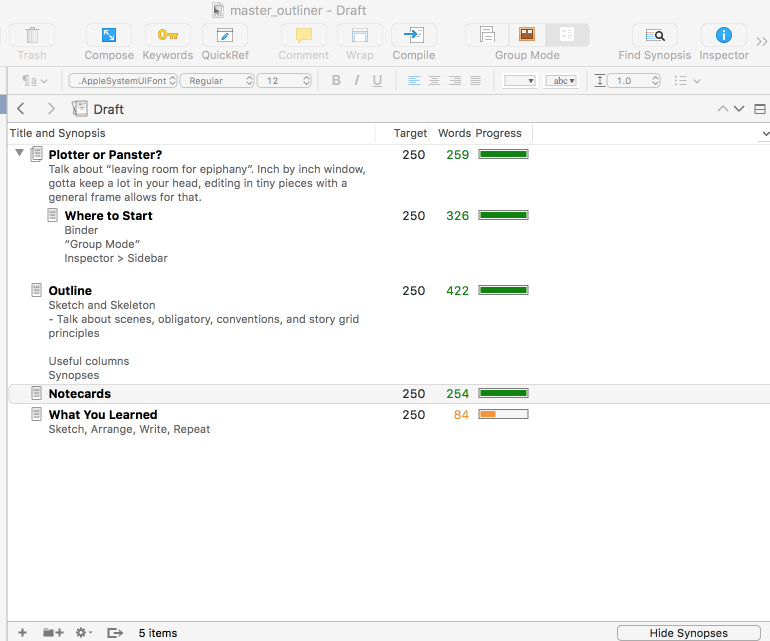
2. Sketch your Narrative in Define Mode
Good writing arises from the ashes of unhealthy concepts. The faster you may burn these darlings, the higher. Sketching your narrative is a fast solution to fumigate.
Choose Draft in Scrivener’s binder and select the Define mode within the high toolbar. You will notice your Subdocuments organized in a desk with a number of columns. Go forward and click on the + button and see what occurs.
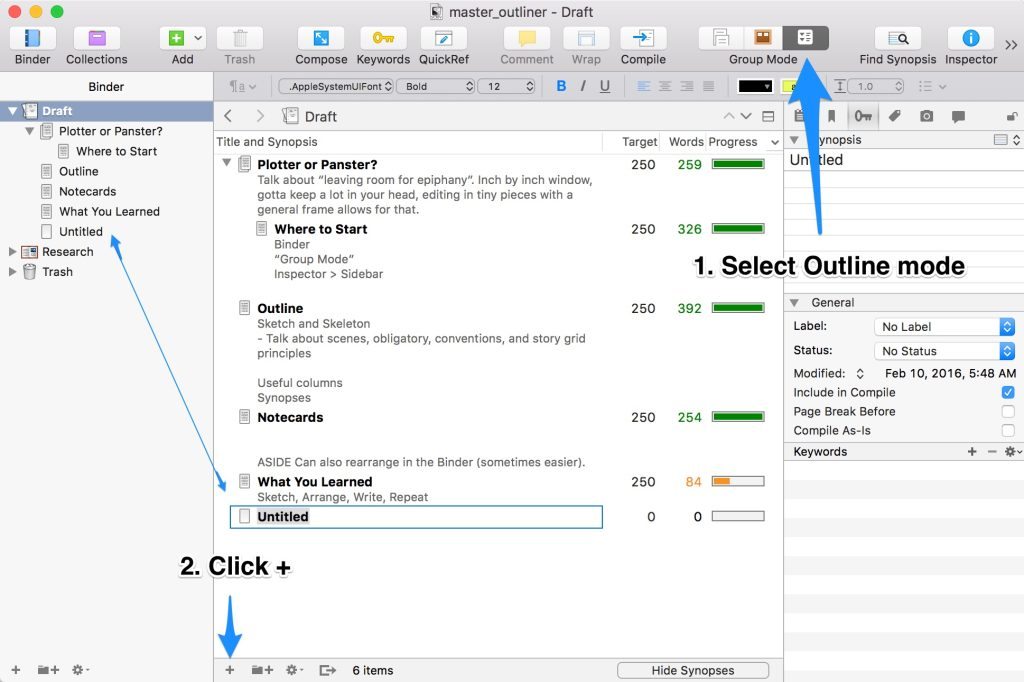
A brand new subdocument will seem within the desk and in your binder! Holy moly they’re the identical objects. Think about your self sitting down to write down. You already know you want a starting. You already know you want an ending. You could have a pair scenes in thoughts. Simply create a Subdocument in define mode for every. Now you’ve gotten waypoints to observe. Congratulations, you’re an outliner.
In case you are a fan of The Story Grid, or one other guide on narrative construction, you’ll instantly acknowledge how rapidly you may jot down compulsory scenes. These kind your narrative skeleton that may go an extended solution to assembly reader’s expectations.
[ASIDE: Some people prefer to have every scene sketched out before writing. Others might need one or two. I prefer a looser outline—it leaves room for epiphany while keeping the goal in sight.]
Dragging a doc onto one other in any “Group Mode” nests Subdocuments. Scrivener can then designate a doc’s stage and assign it a format, i.e. root stage paperwork is likely to be formatted as chapters and their kids as numbered scenes. It’s highly effective. Deal with nesting with warning as too many ranges can result in a complicated doc. I wish to preserve a strict restrict to 2-3 ranges at most.
Helpful Columns
Define objects can show numerous helpful columns. I like so as to add Goal, Phrase, and Progress. Proper-click on any column identify and test the containers you’d like to incorporate. There are lots of nice choices to play with.
Synopses
Together with a log line for every Subdocument can act as useful reminders when returning to a waypoint. These could be positioned in a Subdocument’s Synopsis within the Inspector. Go forward and choose any merchandise in your define and open the Inspector panel.
Scribble in a quick synopsis and don’t fear if it is smart—we are going to seek advice from it within the subsequent part.
3. Rearrange in Notecard Mode
As your Scrivener challenge grows extra complicated, as scenes stack on scenes, lengthy scrawls hint and converge, you might discover your scene order crippling your narrative drive. Grasp writers have a trick to repair these issues: notecards. They write the gist of a scene on a notecard, place them so as on a big desk and go about rearranging them till the story works. Scrivener makes this process lifeless easy.
Choose Draft within the Binder after which click on on the Corkboard define mode.
And voila! Subdocuments as notecards! Keep in mind once I associated Subdocuments to constructing blocks—that is what I meant. Non-linear writing permits Scrivener to current completely different views so that you could be tackle widespread structural points.
Go forward and drag the final notecard to the left of the primary notecard. See how they swap order? Should you drag on to a notecard, it can stack the paperwork. Every stack represents a nested relationship within the Binder.
Like Define mode every synopsis is seen on the notecard. Double-click a stack of playing cards to “zoom” into the stack and isolate these paperwork. Referring to the Binder can prevent lots of frustration when navigating your manuscript!
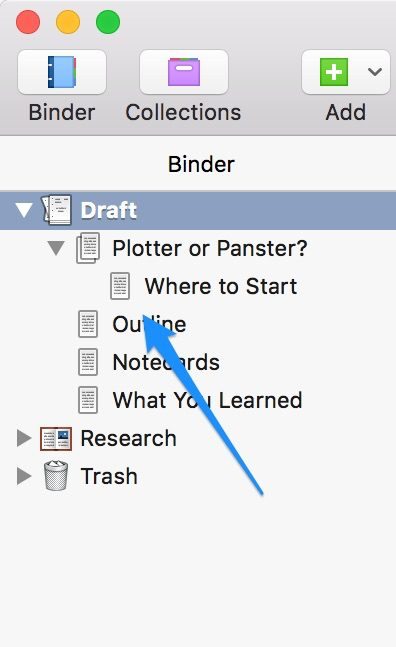
[ASIDE: You can also rearrange in the Binder! When you get a feel for this, you may find you don’t need to use Corkboard mode at all. Go ahead and drag a document around in the Binder to see what happens.]
4. Go forth, Grasp Outliner
This text coated the three “group modes” Scrivener presents, and defined how these modes allow you to define and write by the seat of your pants. This system works finest for me: