
Welcome to our guide on how to plot a novel. Plotting your book is an important step in the writing process, and plays a big role in how your words form into a story. In this post, we’ll explain in detail how to plot a novel and why having a plotting process matters.
Plot describes the events that make up a story.
Think of your plot as clay. Bendy, pliable, and movable in every which way. The plot of your story can be changed at any point by you. You can morph it however you want and enable it to take on the form of your choosing. However, just like clay, keep moving your plot around too much and the whole thing crumbles.

By understanding what plots are and how they can strengthen your storytelling, you’ll be on the path to a solid storyline in no time!
- What is plot?
- How to tell a successful story
- How to plot your novel
What is plot?
A strong plot can guide your story and give it more clarity. It can also provide readers with an easier, more enjoyable reading experience. Here are a few commonly asked questions about book plot:
How do you write a good plot?
We’ve found that a strong book plot often comes from two things: imagination and organization. Imagination can be stoked through many things like building writing habits or reading writing prompts. Organization, though, is more formulaic. You will need to organize your book by plotting it and outlining it. This will take time, research, and thought, but is certain to improve the quality of your book and make your writing experience easier.
How do you plot a book?
We recommend considering the following questions when devising your plot: At what part of your story are you jumping in? From the beginning or in the middle of the action? Do you know what the rising action, climax, and falling action of your story will be? For reference…
1. Rising action
This refers to incidents in your story that build excitement or suspense.
2. Climax
This is the most intense point of tension or action.
3. Falling action
This occurs right after the climax when your book’s main problem is resolved.
Formulating where you want the climax, rising action, or falling action to fall in your book is just one part of plotting your story. Having answers to these questions will enable you to imagine the structure, or plot, of your book.
What is an outline? How do you outline a book?
An outline is a visual representation of the structure of your story. Your outline will show you what each scene looks like and will be an overview of the direction of your book. Book outlines can look different for every author, so remember that the shape of your outline is entirely up to you. Here are some examples of what outlines can look like:
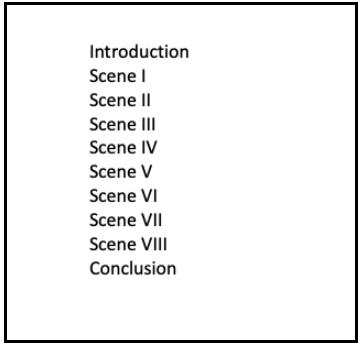
1. The simple method:
Easy, to the point, and ready for you to fill in your book details…
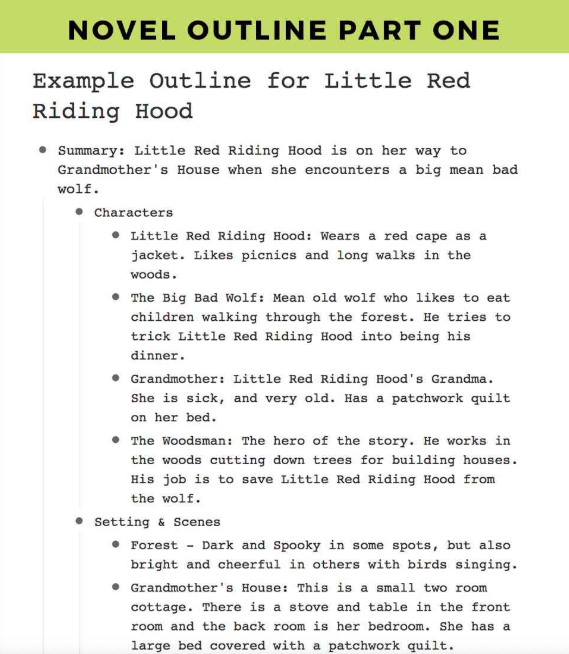
2. The detailed method:
A more complex outline organized by scene, characters, and so on…
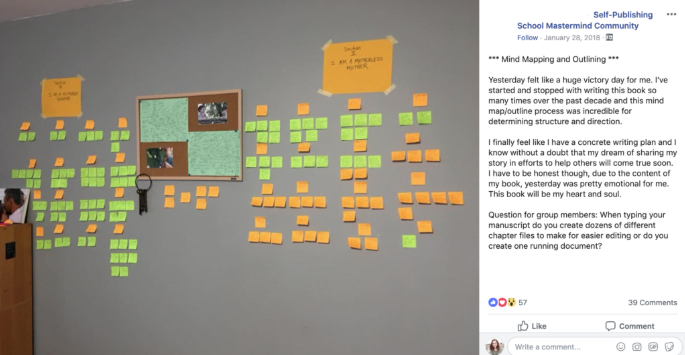
3. The mind mapping method:
A more creative plotting option for visual learners…
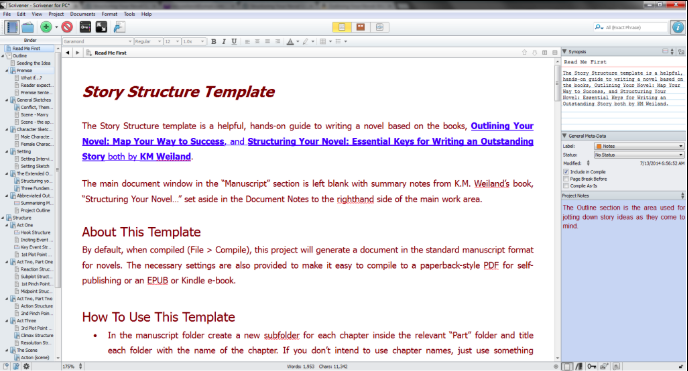
4. The software tool method:
Popular applications like Scrivener or PageFour offer outlining templates…
5. The Snowflake Method:
Created by Randy Ingermanson, this entails starting at the simplest point of a story and expanding your plot from there…

As you can see, there are a lot of ways to go about plotting. What works for you may not work for other authors.
What if I have nothing to write about?
We recommend getting out of your writing space to unplug. This can alleviate the pressures of writing and let the creativity flow. If you’re searching for inspiration and story ideas, be sure to check out our list of 500 writing prompts. Feeling a bout of writer’s doubt? You should read our tips to beating the author blues. Once you’re able to overcome self-doubt or writer’s block and develop ideas, it’ll be much easier for you to get your thoughts into an outline.
How to tell a successful story
Before we show you how to create a detailed, focused outline for your story, we want to introduce you to five important letters – the five C’s:
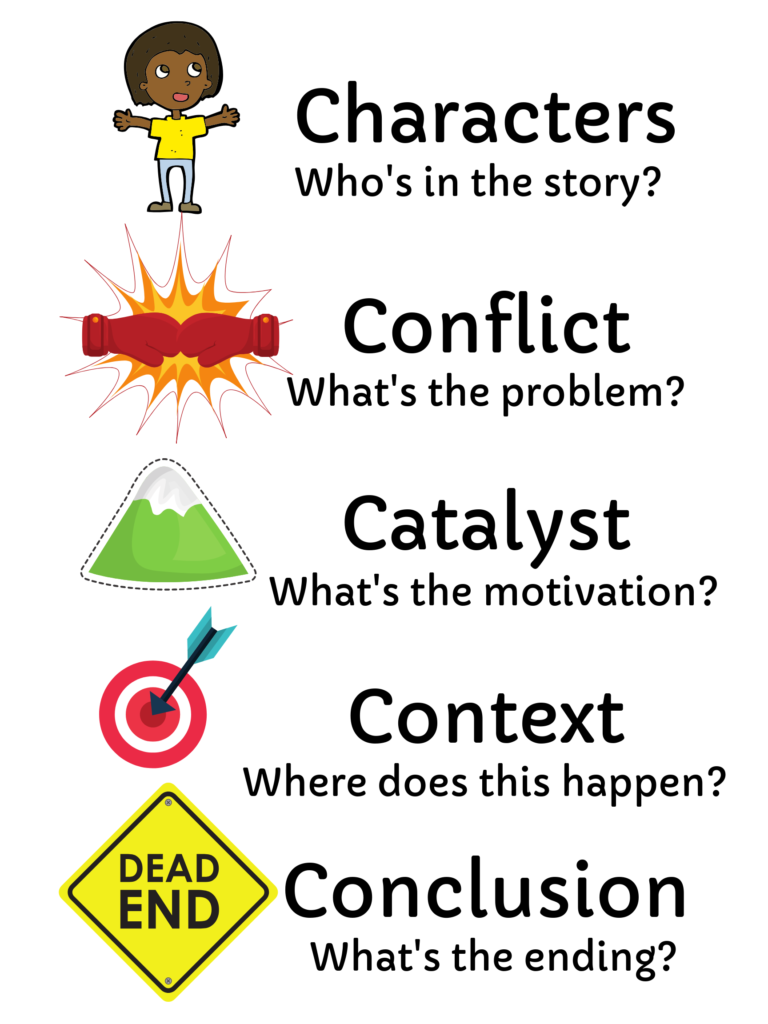
The five C’s are going to serve as your writers’ compass. They will guide your outline in such a way that you’ll have a clear path for your writing to follow. By answering what each of the five C’s means to your story, you’ll have the main points of your plot written down.
1. Characters
Who are the main characters in your story? Who are the supporting characters? From what point of view is your story being told? Consider if there’s anything unique or notable about your characters that the reader needs to know about.
2. Conflict
What is the main problem in your story? What issues must your protagonist overcome? What issues are your supporting characters trying to overcome? Remember that conflict is what really drives your story and keeps readers flipping the pages, so this is a crucial part of your plot.
3. Catalyst
What are your characters’ goals? What is motivating them in your story? This usually ties into your conflict. For example, in a Murder Mystery book, the main character could be solving a crime (catalyst) because her brother was murdered (conflict).
4. Context
Where will your story take place? Will your story change locations? If you have time, take a moment to close your eyes and envision the setting of your story. You’ll want readers to have a strong visual image of this when they read your book, so write down anything that stands out in particular about your setting.
5. Conclusion
How will your characters experience resolution? This will probably occur at the end of your story and is what brings everything to a close. Make sure that your conclusion resolves every problem that your characters dealt with. You don’t want any loose ends to your story.
Did you read through and answer each of the five C’s? If so, you’ve answered some of the most crucial questions to your story. These answers will help guide you in the next part of this post – the step-by-step guide to outlining and plotting your novel.
A step-by-step guide to plotting and outlining your novel
You’re now ready to write out the actual plot and outline of your story. Follow along with us as we show you our recommended steps:
1. Step 1
To begin, write out “Beginning”, “Middle”, and “End” on a piece of paper. Make sure to leave chunks of space for each section as you’ll be writing underneath them. For example, your paper will look like this:
Beginning
Middle
End
2. Step 2
Underneath each of those three headers, list the five C’s: characters, context, conflict, catalyst, and conclusion. As we did in the previous section of this article, work your way through the beginning, middle, and end of your story, jotting down your answers to each of the C’s.
Beginning
Characters
Context
Conflict
Catalyst
Conclusion
Middle
Characters
Context
Conflict
Catalyst
Conclusion
End
Characters
Context
Conflict
Catalyst
Conclusion
For some people, their characters might stay the same throughout the entire book and their “characters” information won’t change. However, some authors might prefer to add or remove characters in the middle or end of their story. This is all up to you.
The point of working through the beginning, middle, and end of your book is to show you that your story is beginning to take shape. Keep in mind that this step of the process could take you a while since you’re answering so many questions! Be prepared to sit down and really focus on coming up with a clear picture of what your book looks like
3. Step 3
Once you’ve answered each of the five C’s for the beginning, middle, and end of your story, your paper might look something like this:
Beginning
Characters – Sarah and Jane
Context – Sarah and Jane’s apartment in LA
Conflict – Sarah and Jane are fighting over whether or not they should adopt a dog
Catalyst – Sarah wants a dog because she is lonely but Jane has severe allergies to dogs
Conclusion – Jane is willing to give pet adoption a shot and decides to take Sarah to the pet shelter
Middle
Characters – Sarah, Jane, and Will
Context – Sarah and Jane’s apartment in LA
Conflict – After adopting a dog, Will, Sarah and Jane still argue
Catalyst – Jane’s allergies are getting worse and Will won’t stop barking
Conclusion – Jane gives Sarah an ultimatum – either you find a new home for the dog and keep living with me, or you and Will leave and find your own place
End
Characters – Sarah and Will
Context – Sarah’s new apartment
Conflict – Sarah has found a new apartment, but the landlord doesn’t allow any pets. Now Sarah must sneak Will in and out and train him not to bark
Catalyst – Sarah loves Will and must do anything in her power to keep him
Conclusion – Sarah and Will are happy in their new home and Will has learned to stop barking
This relatively simple outline provides us with an understanding of the movement of the story. From here, we’ll need to create a scene outline for the beginning, middle, and end of our book.
4. Step 4
Take out some more pieces of paper (or, for our computer-only users, pull up a new clean page on Microsoft Word). Now you’ll need to set up individual scenes, which might look something like this:
Beginning
Scene I: The book opens at Sarah and Jane’s apartment. We get to meet Sarah and Jane and read a description of who they are / what they’re doing in LA. We learn that Jane has severe allergies and is annoyed that her roommate, Sarah, wants to adopt a dog.
Scene II: Sarah and Jane have a big argument at their apartment.
Scene III: Sarah calls her mom to complain that her roommate won’t let them get a dog.
Scene IV: Jane begins to search Facebook groups for adoptable dogs after she watches a sad commercial for abused animals on television.
Scene V: At dinner one night, Jane tells Sarah that she is willing to give dog adoption a shot. The two make plans to visit their local animal shelter.
And so on for the rest of the beginning, middle, and end…
Your paper should now reveal a clear view of each of the scenes in the beginning, middle, and end sections of your story.
5. Step 5
Following these steps, you’ll need to read through your outline and make sure that it reflects the type of story you want to tell. You now have the flexibility of adding in new characters, scenes, conflicts, or changes in setting.
6. Step 6
Once you’re ready to move forward with the writing process, you’ll start taking pen to paper (or fingers to keyboard) and getting words on your pages. With your ideas and plot sketched out through your outline, you now get to plug in all the dialogue and character details that make books so much fun.
Congratulations… You just outlined a book and developed your plot!
Easy enough, right? If you have any questions for us on this process or would like to tell us how your outlining process is going, please let us know in the comments below.
,